
Slidev
Slidev is a presentation tool with which you write your slides in markdown and render these in a website.
It is a perfect companion for Demo Time when you want to present your slides, and trigger your demos from the slides.
In this guide, you will learn how to integrate Slidev with Demo Time.
Prerequisites
Before you start integrating Slidev with Demo Time, make sure you have the following:
- A Slidev presentation
- A Demo Time extension installed in Visual Studio code
Enable the Demo Time API
First, you need to enable the Demo Time API in your project. To do this, you need to add the configuration to your .vscode/settings.json file.
{ "demoTime.api.enabled": true}Once enabled, it shows the API and its port number in the status bar of Visual Studio Code.

Install the Demo Time Slidev Addon
To integrate Slidev with Demo Time, you need to install the Demo Time Slidev Addon.
To install the Demo Time Slidev Addon, run the following command:
npm install slidev-addon-demotimeIn your slides.md file from Slidev, add the slidev-addon-demotime addon to the front matter section to import the Demo Time Slidev Addon:
---addons: - slidev-addon-demotime---Usage
After you have installed the Demo Time Slidev Addon, you can use the following syntax in your Slidev slides to trigger a demo:
---clicks: 1---
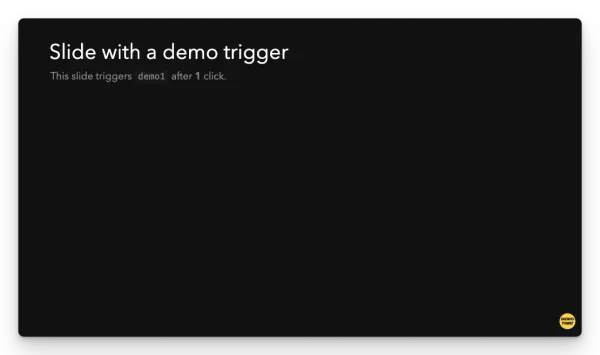
# Slide with a demo trigger
This slide triggers `demo1` after **1** click.
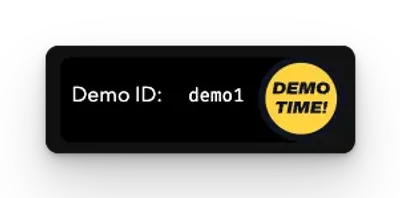
<demotime click="1" id="demo1" />On a slide where you use the demotime component, you will see the Demo Time logo.
When you hover over the demotime component, you will see the ID to trigger. When you click on it, it triggers the demo manually.
Component attributes
The demotime component has the following attributes:
click: The number of clicks to trigger the demo.id: The demo ID to trigger.port: The port where the Demo Time server is running. Default is3710.host: The host where the Demo Time server is running. Default ishttp://localhost.image: The image to show in the slide. Default is the Demo Time logo.